
ESE101: Blinky and Breakpoints
This week we’ll create a simple example project and load it onto our MSP430 LaunchPad dev kit. Then we’ll use the CCS debugger to set breakpoints and step through the program to watch it as it runs on the microcontroller. This will verify that the CCS installation works well enough to generate code and actually program the dev kit, and that the dev kit is able to be programmed.
This is the last of three posts about setting up the TI hardware and software. Like I said last week, if you’re not following along with the MSP430 LaunchPad we’re using for ESE101, hang in there - I’ll get back to more general microcontrollers and embedded software engineering next week!
It may seem like a silly thing to verify, but as I said previously, I believe that it’s best to make sure simple examples work before spending time developing anything new.
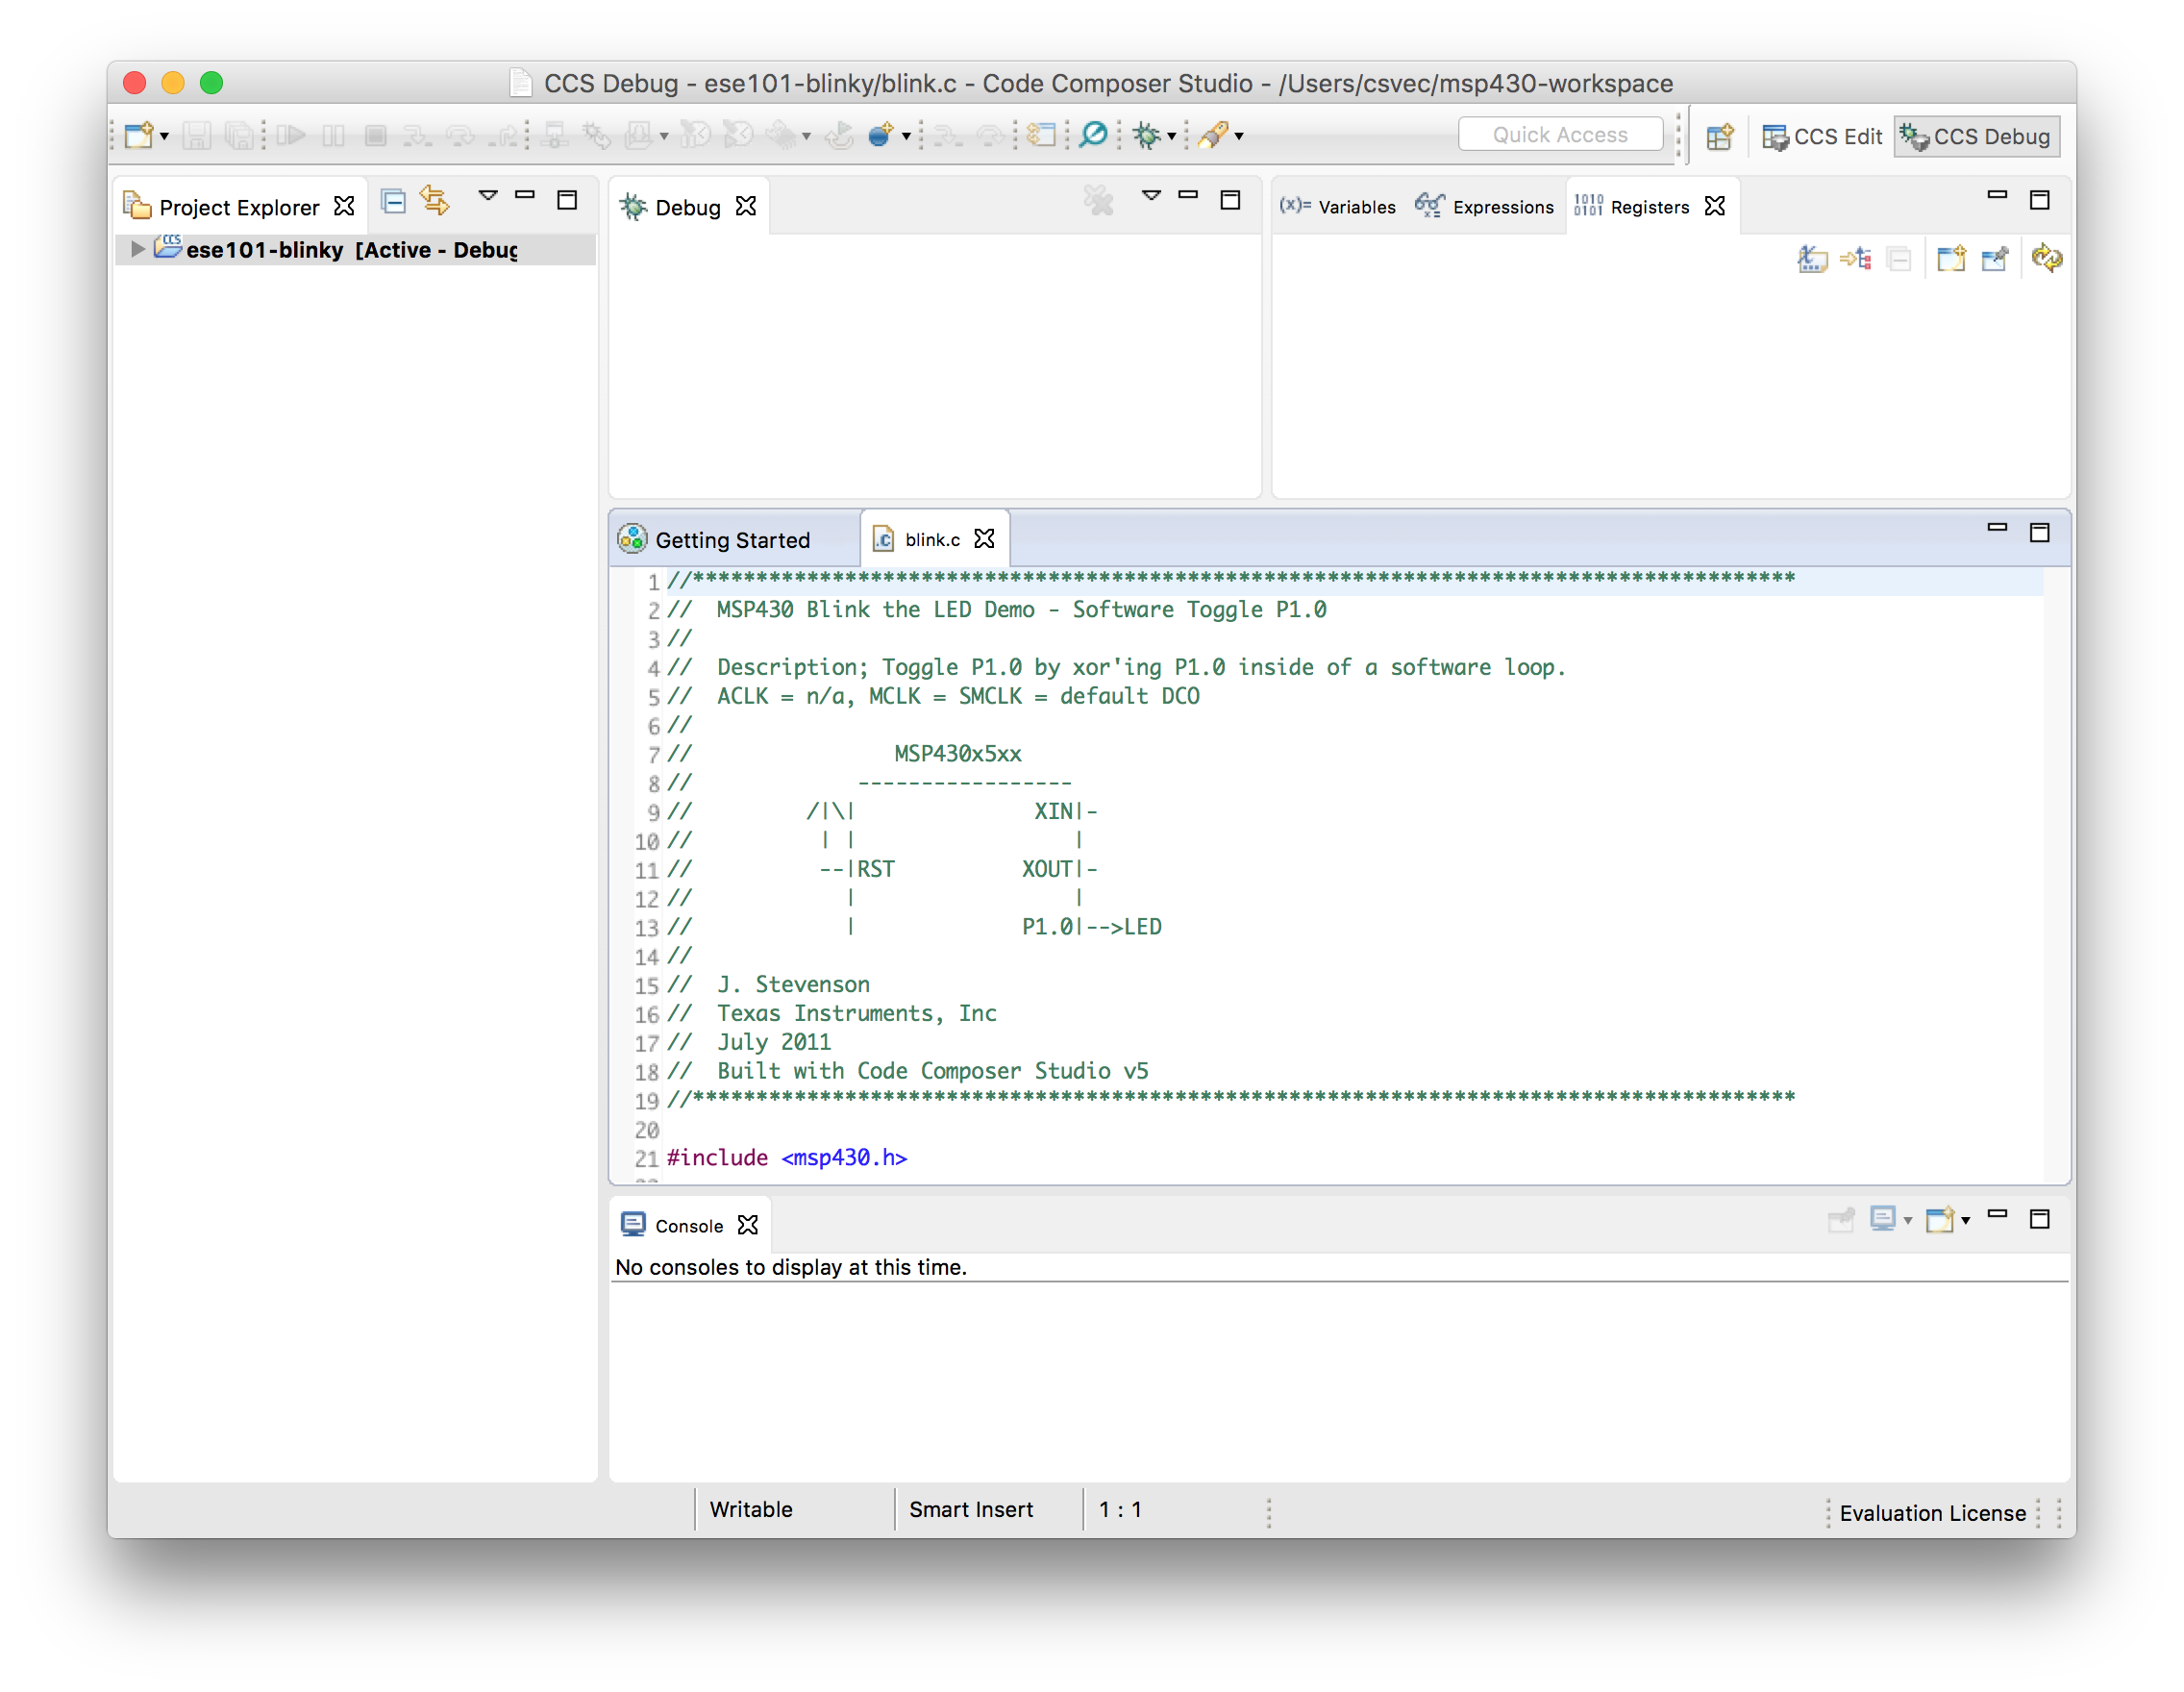
Open Code Composer Studio, choose “New Project”, and change these fields:
- Target: MSP430x5xx Family
- Chip (to the right of the “Target” field): MSP430F5529
- (Be sure you’re not choosing “MSP430F5229” like I did the first time I tried it - “5529” looks a lot like “5229” in a sea of numbers. We want “5529”.)
- Project Name: ese101-blinky (though you can call it anything you want)
- Project templates and examples: choose “Blink the LED”
The form should look like this when you’re done:

After you click Finish you should see something like this:
Note that you might see different windows open surrounding the main blink.c window in the middle, that’s okay as long as you see “blink.c” in the middle.
This is the project and code for a simple “blinky” demo. A program that blinks a light (usually an LED) is the embedded systems version of a “Hello, World!” program in most other programming systems. Most embedded software is written in the C programming language, and so is our blinky.
Let’s try compiling the program: Select the Project menu->Build All. After a few seconds you should see the Console window (bottom right window in CCS) look something like this:

Success doesn’t look like much - but since it doesn’t say “error” then it worked. (Personally I’d like to see “success!” or something like that printed out, but c'est la vie (that’s French for “tough cookies,” I think.)). We’ll ignore the warnings about “uninitialized Port D in this project” for now. The MSP430 is a low power chip, and CCS is trying to help us make it as low power as possible, but we don’t care about that for now.
Now that the code has compiled successfully, plug the MSP430 LaunchPad into your computer’s USB port and let’s load the blinky demo onto our dev kit!
Select Run->Debug and CCS will download the code to the MSP430 chip over USB, and start a debugger at the blinky code’s main function. If you see a warning about “The Ultra-Low Power Advisor (ULP Advisor) checks for ultra-low power best practices” ignore it - select the checkbox for “Do not show this message again” and click “Proceed”. Again, CCS is trying to help us be low power, but we won’t worry about that for now.
CCS should now look like this:
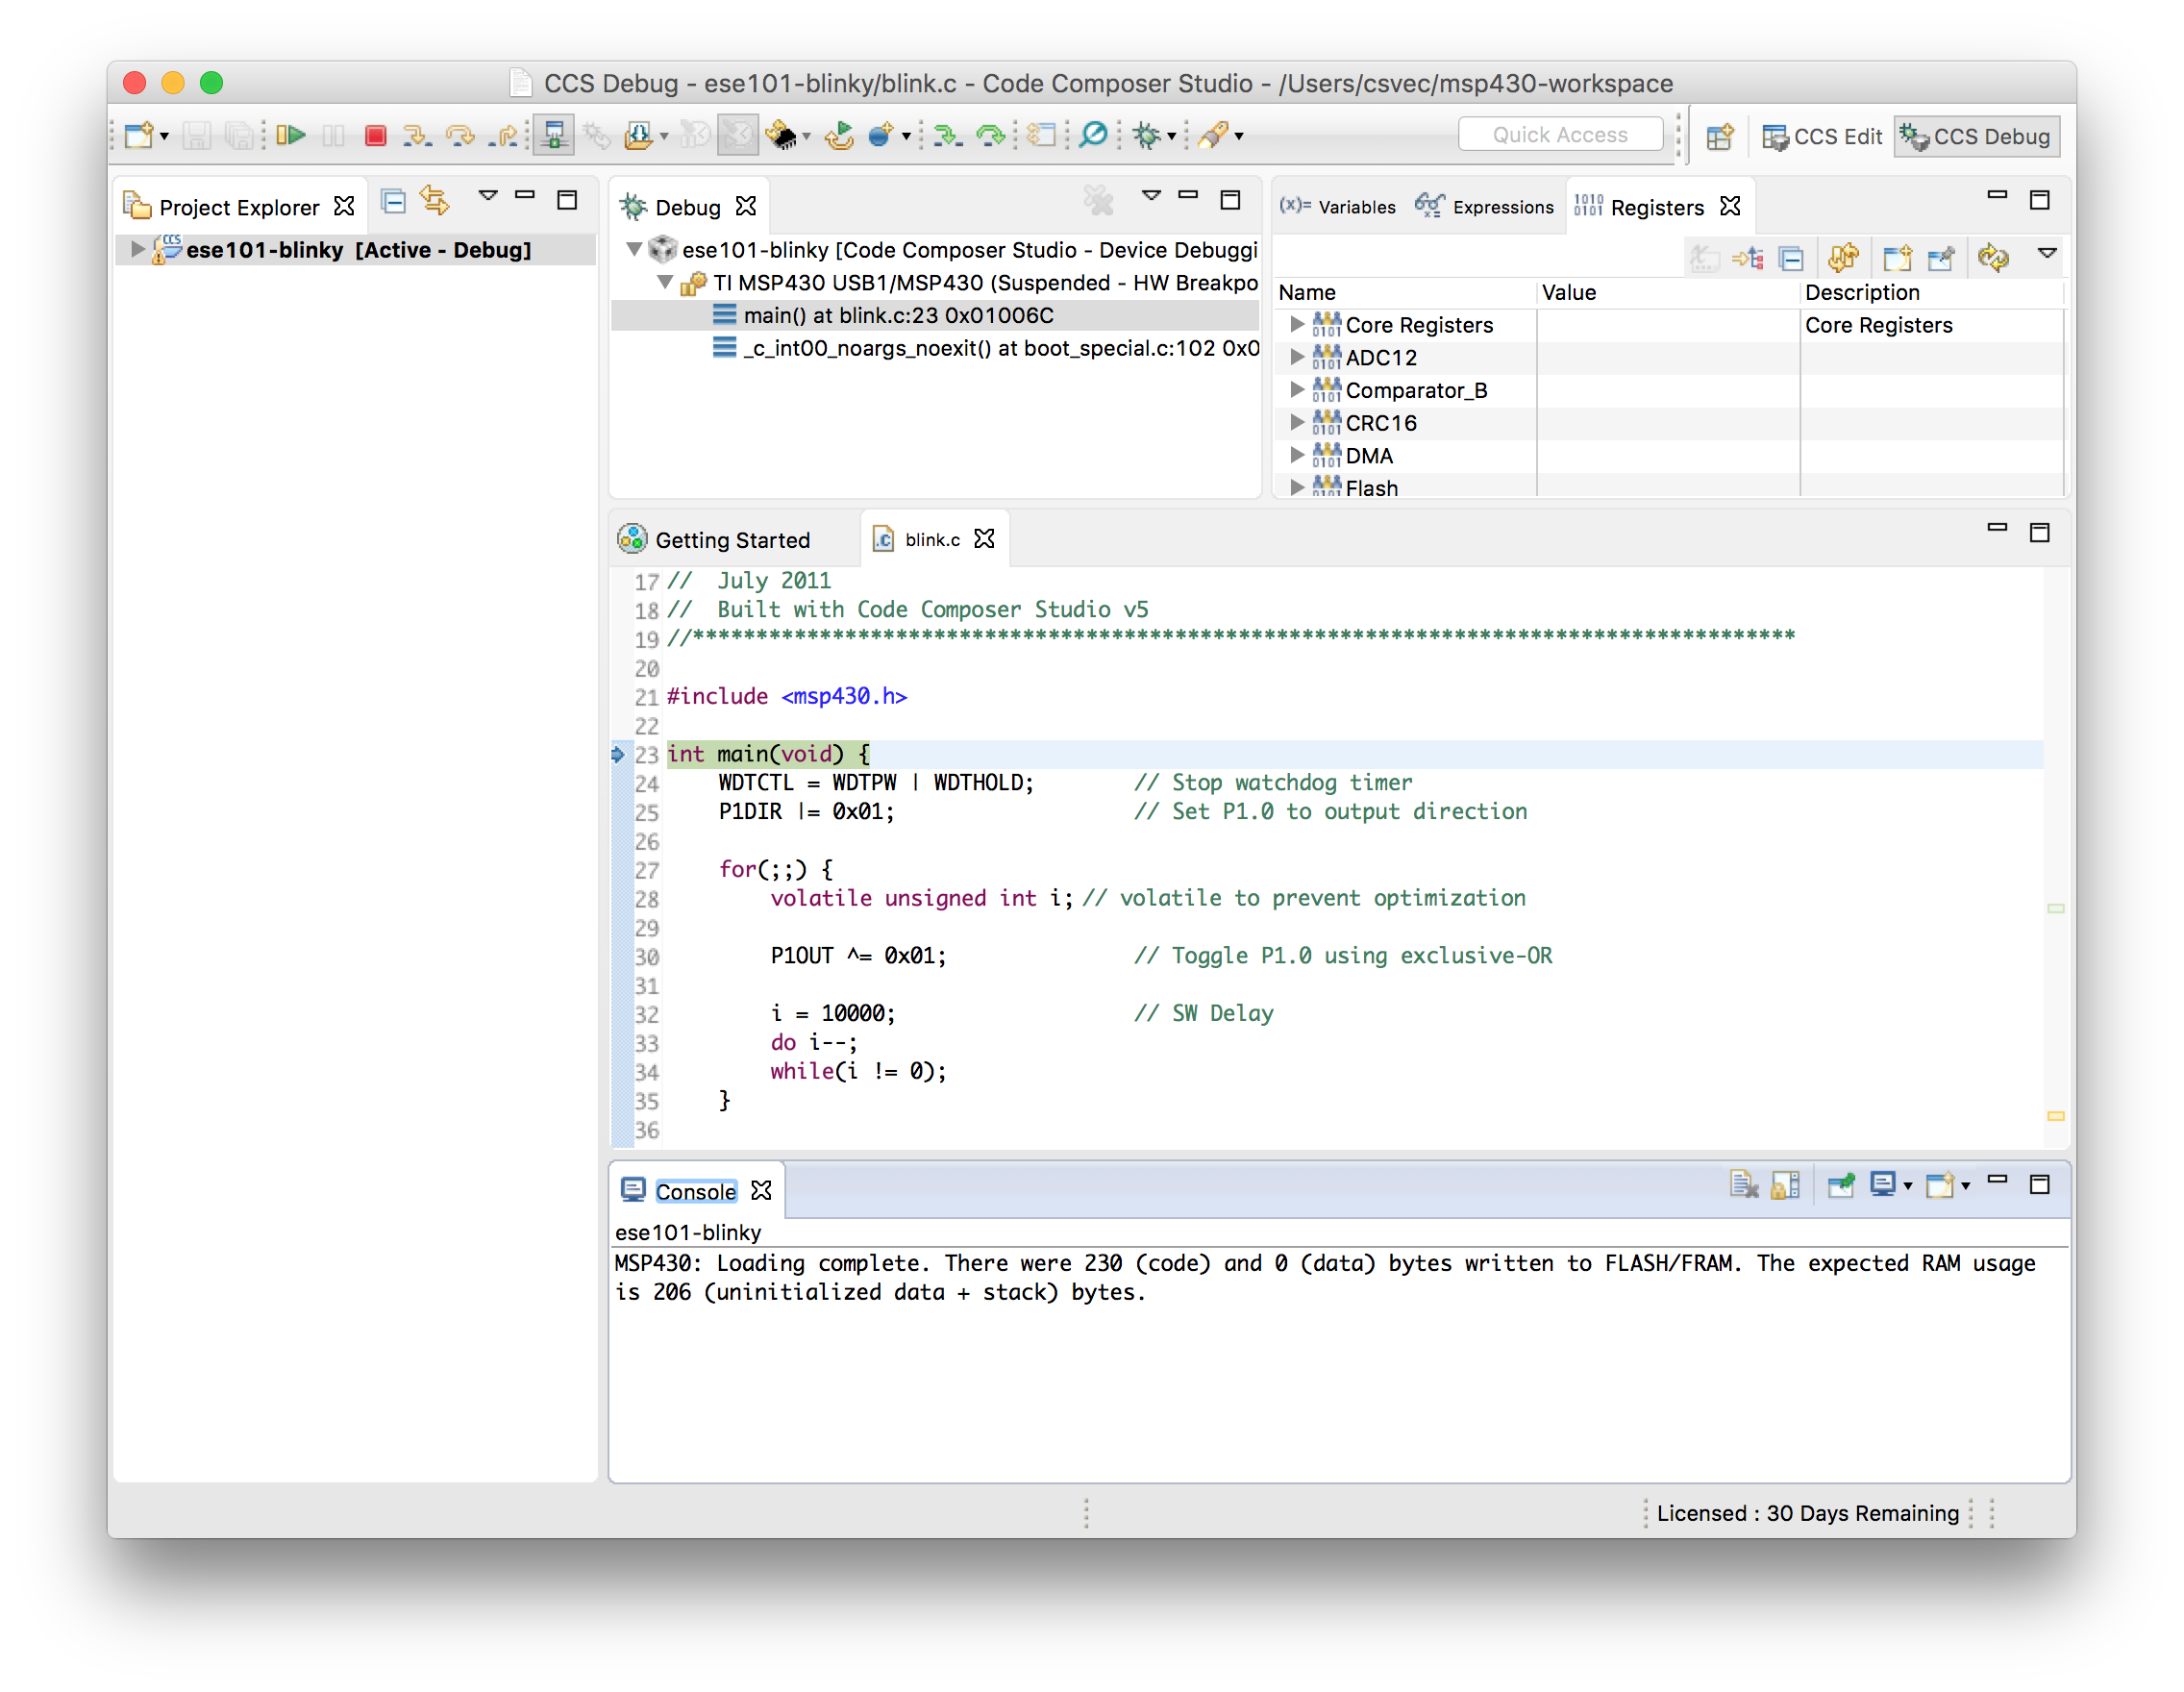
The Console window (bottom right) tells us the loading is complete. 230 code bytes were written to FLASH/FRAM (there is only FLASH on our particular MSP430 chip, no FRAM), and it expects RAM usage to be 206 bytes.
The main/middle window shows the code in blink.c. The green highlighted line “int main(void)” with the blue arrow to its left is the line of code the MSP430 chip is currently stopped at. Select Run->Resume and the program will start running. LED1 should be blinking (red), shown at the bottom of this picture:
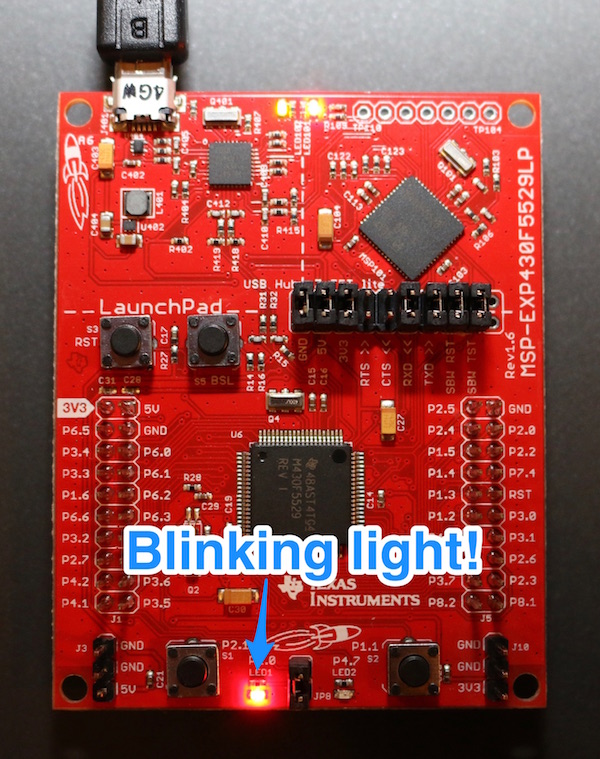
If that light is blinking it means the CCS software and LaunchPad hardware work well enough to load new code onto your dev kit - hooray! If something went wrong and your dev kit doesn’t blink, or if CCS gives you an error that you can’t make sense of please leave a comment and I’ll try to help! TI’s forums might be helpful too.
Now let’s use CCS’s built-in debugger to step through the code. The code is currently running (we can tell it’s running since the light is blinking), and CCS lets us set a breakpoint in the code while it’s running. We tell the CCS debugger to stop (or “break”) somewhere in the code, and when the MSP430 reaches that part of the code it will stop.
You set a breakpoint by double clicking to the left of the line in the main window, shown here:
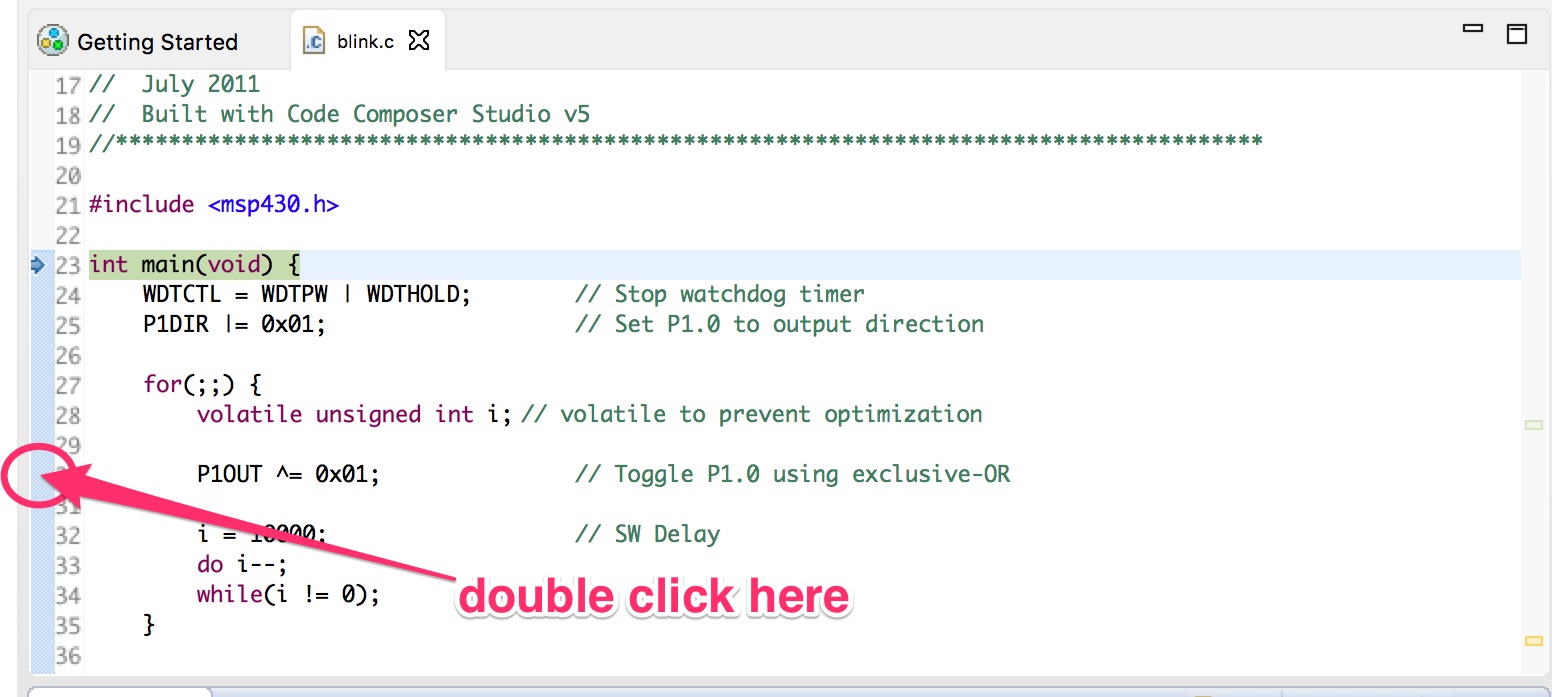
Double click to the left of the “30” on line 30 (the line with “P1OUT ^= 0x01;”). The program should stop right away: the LED should stop blinking, and the CCS window should show that the MSP430 has stopped at the line you just set the breakpoint on like this:

The green highlighted line is the line that the MSP430 has stopped on. It actually stopped right before running that line.
Pay attention to the LED that was recently blinking: is it on or off?
Now select Run->Step Over and watch what happens. The light should have changed states: if it was on, it should now be off, and vice versa. “Step Over” means “run the next line of code”, and the “P1OUT ^= 0x01” line is the line that toggles the LED on/off. The CCS window shows the next line (“i = 10000;”) is now green, meaning that the MSP430 is stopped right before running that line:

You can keep doing “Run->Step Over” to run one line of C code at a time. You’ll notice that after a few “Step Over”s it seems to bounce around between the “do i--;” line and the closing brace “}”. What’s happening here?
The simple blinky program creates a delay between toggling the LED on/off by counting down “i=10000” all the way down to i=0 with the do/while loop. This takes about a half a second or so when the MSP430 is running at normal speed, which gives our eyes enough time to perceive the LED going on and off. But now we’re manually stepping through the code one line at a time in the debugger, and so our “Step Over” clicking will run “i--” (subtract 1 from i) 10000 times until i=0, when it will go back to the top of the “for (;;)” loop.
I don’t have the patience to click Step Over 10000 times, so instead I’ll select Run->Resume. This starts the MSP430 running at full speed again until it hits the next breakpoint, which is back at line 30’s “P1OUT ^= 0x01” statement. Selecting Run->Step Over should run the P1OUT toggle line, and the LED should toggle on/off again.
When you’re done select Run->Terminate to quit the debugging session. At this point you can unplug the board, call your significant other over, plug the board back in, show them the blinking light, and say “I did that!” with pride. Then your significant other will look at you and ask if you’re feeling okay, and if you finished the dishes like you said you would. “No,” you can say, “but a stranger on the internet showed me how to flash this little light!” Welcome to embedded. :-)
Congratulations! You’ve just built, downloaded, and debugged your first embedded program!
Next week we’ll get back to learning about the MSP430 microcontroller itself.
This post is part of a series. Check out the complete Embedded Software Engineering 101 series here.