
ESE101: Getting Started with the MSP430 LaunchPad Development Kit
Congratulations to contest winners Justin, John, Alexander, Chris, and Zachary! They each won a MSP-EXP430F5529LP development kit from TI. Thanks again to Adrian Fernandez from TI for donating the dev kits.
Hopefully you’ve got your shiny new red board, so let’s start using it! It’s also okay if you don’t have one yet - we’ll do a basic test of the hardware this week and continue with more detail next week.
Whenever I get new hardware the first thing I do is to verify that the hardware works. There’s no sense in wasting time trying to write fancy new software for a broken board. Especially if my new software doesn’t do what I expect: is it the hardware or my software? (Answer: it’s almost always my software, but I still verify that the hardware works before I get too far!)
Most dev kits come preloaded with simple software that blinks a light or does something else to show us that it’s alive. Thankfully the MSP430 LaunchPad does too, so let’s try it out. The “Meet the MSP430F5529” brochure that came with the dev kit says that when you plug in the board to your computer with USB it should show up as a new external disk drive, and it should also work like a crude keyboard.
Your dev kit (aka “evaluation kit” aka “development kit” aka “eval board” aka “dev board”) box should look something like this:

Remove the dev kit and USB cable from their bags and plug the USB cable into the dev kit and your computer. It’s supposed to work on Windows, Mac, and Linux, but I’ve only got a Mac for testing. (If you run into any issues or problems please leave comments below and I’ll try to help.)
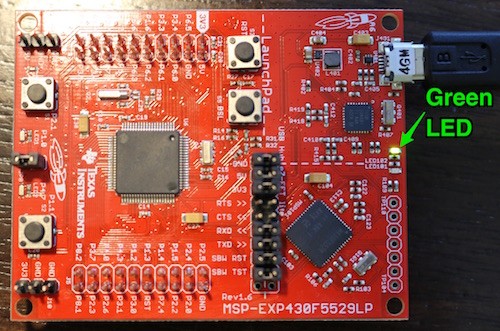
When I connect the dev kit to my Mac the green light near the USB cable turns on:
And I see a new drive appear on my computer with four files in it:

This is all very encouraging! Lights turning on and disk drives showing up means that at least power and the USB system is working.
The “Meet the MSP430F5529” brochure was right - the new drive that showed up has a few MSP430 related files on it. Now let’s see how the board works as a keyboard: pushing the “S1” button on the left side of the dev kit (also marked as “P2.1”) should cause the contents of the Button1.txt file to be sent to the computer as keystrokes. Pushing “S2” should send Button2.txt.

I opened a simple text editor like TextEdit (Notepad is a good choice on a Windows machine) and pushed the S1 button:

Yup, it works! The “Hello World” text appeared right after I pushed the S1 button.
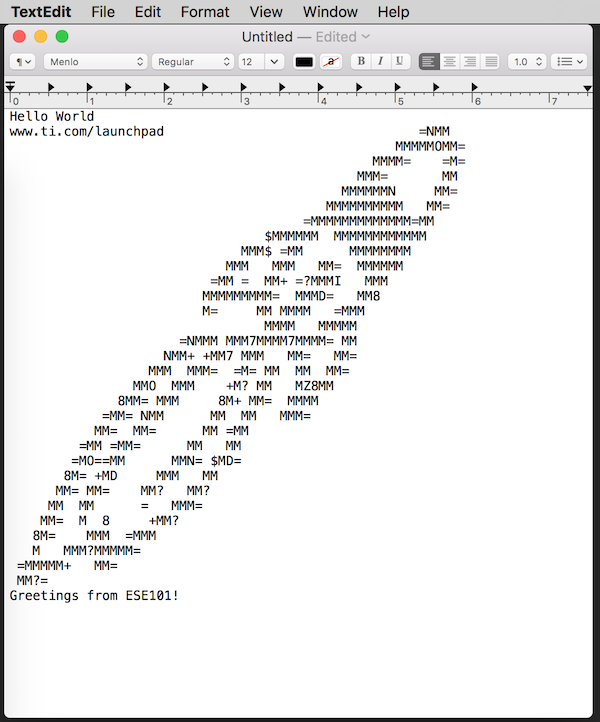
Then I hit the ENTER key on my Mac’s keyboard to insert a newline after “Hello World”, and then pushed the S2 button:

This ASCII art image of a rocket comes from the Button2.txt file. If the ASCII art looks poorly formatted try changing your font to a fixed-width font like Courier, Courier New, or Menlo.
Then I opened the Button1.txt file, changed it to a message of my own, saved it, and pushed S1 again:
I saw the line “Greetings from ESE101!” show up at the bottom, which is the text I put in the Button1.txt file.
Now that we’ve used the pre-programmed sample code on the dev kit we know our hardware basically works.
Next week we’ll start using TI’s software development environment to start writing & running our own code - see you then!
Bonus: When you remove the dev kit the MSP430 team wishes you “Happy coding”:

This is a nice touch. It’s totally unnecessary and a little bit fun.
This post is part of a series. Check out the complete Embedded Software Engineering 101 series here.